Products in Classic Commerce can be assigned tags and categories, which have much the same purpose as their corresponding application to posts in ClassicPress. However, there is a third way to label and group products… using attributes.
Classic Commerce uses this special data type in two areas:
- Through Classic Commerce Widgets. For example, the “Filter Products by Attribute” widget allows your customers to filter products in your store based on attributes.
- In Variable Products. To create a variable product, an attribute must first be defined for the product. These attributes can then be used to make distinctions between different variations. More information is available on the Variable Products page. For example, if you’re selling shirts then two obvious attributes are “color” and “size”, so customers can search across categories for a color that fits their style and a type and clothing available in their size.
Attributes can be set globally, or they can be assigned individually in the variable products window. If you have many common attributes throughout your shop (such as the clothing example above) then it makes sense to add them in globally. But if you have products with lots of different and unique attributes then you can set them at the product level.
Setting global attributes
Go to Products > Attributes to add, edit, and remove attributes.

Here you can quickly and easily add attributes and their terms.
- Add a Name.
- Add a Slug; (optional); this is the URL-friendly version of the name. If you don’t set one it will be generated automatically.
- Enable Archives if desired. If enabled, you can view a page with all products having this attribute. For example, if you have this enabled, and “black” is one of the options under “color”, you can add
http://yourstore.com/pa_color/black/to your menu to only display black clothing –pastands for “product attribute.” - Select a Default sort order. Choose between “Name”, “Name (numeric)”, “Term ID” or “Custom ordering” where you decide by dragging and dropping the terms in the list when configuring the terms (see below). “Name (numeric)” is relevant if the values are numbers. If you select “Name”, it sorts alphabetically with 1 and 10 preceding 2. If you select “Name (numeric)” it sorts based on numerical value.
Select Add Attribute.
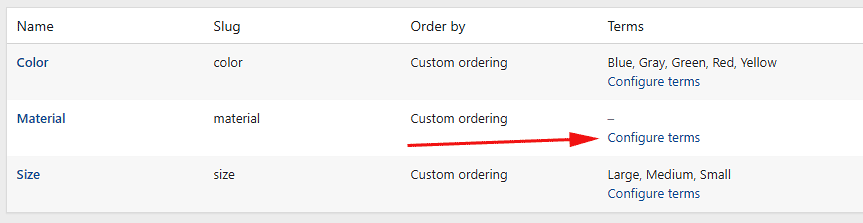
The attribute is added in the table on the right, but without values.
Select the “Configure terms” text to add attribute values.
Now you can add new attribute names.
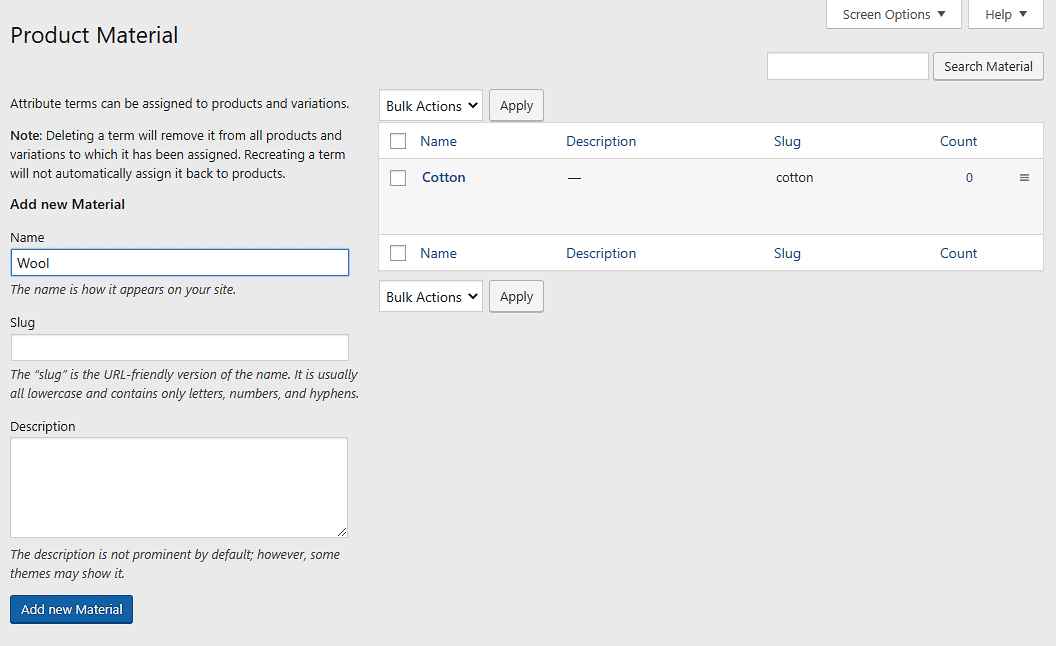
Add as many values as you wish. If you selected “Custom ordering” for the attribute, reordering your values can be done here.
Add global attributes to product
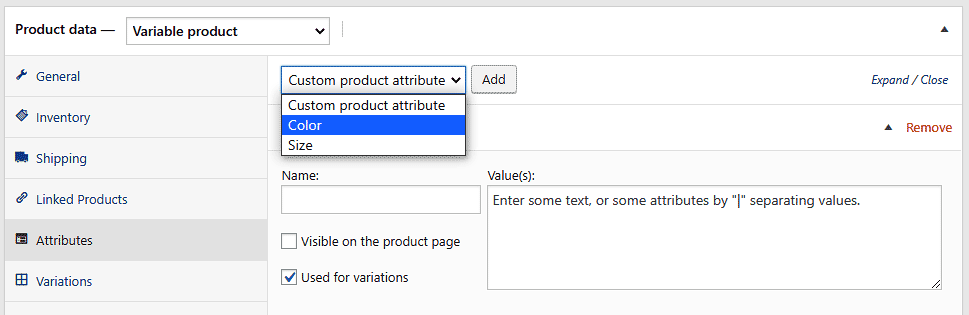
Once you have created one or more attribute sets you can add them to your products.
- Go to: Products > Add Product (or edit an existing one).
- Select the Attributes tab in the Product Data. There you can choose any of the attributes that you’ve created from the dropdown menu.
- Select Add.
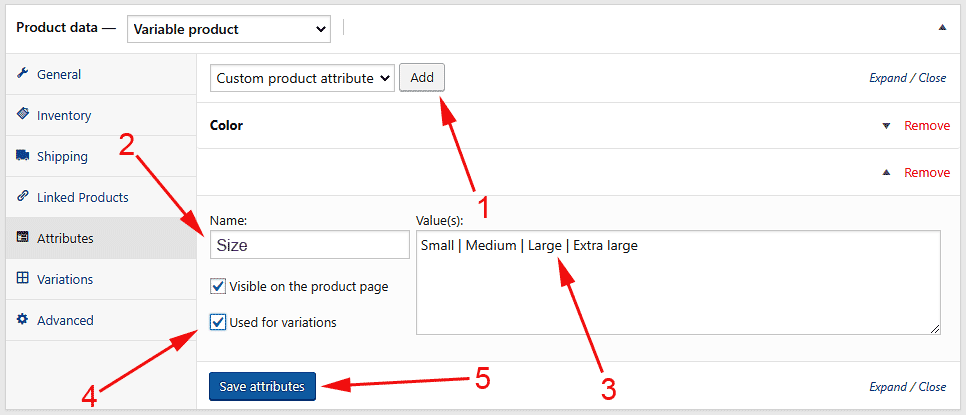
Adding custom attributes
Alternatively, if you only want to use an attribute for one product you can add it as a custom attribute. This is the approach to use if you have a product with unique variations. There is no point creating numerous global attribute sets if each of them will only be used once.
- Go to: Product > Add Product.
- Select the Attributes tab.
- Select Custom product attribute in the dropdown and follow the steps below.